
My Apple Pancakes recipe, made with shredded apples and wholesome ingredients, is a delicious twist on your everyday breakfast or brunch dish! These babies taste great, and because of the apples, have lots of natural fiber that's good for you.

I'm a girl who's picky about her pancakes - and these apple pancakes truly blow it out of the park! They're fluffy, with crispy edges and a perfect balance of sweetness. And don't forget, the batter is made all in one bowl for easy cleanup!

The Coined Breakdown
- Total Cost per serving (3 pancakes): $0.28
- Total Cost (4 servings): $1.13
- Those Other Guys: $12.99 per serving
Ingredients

- Apples - The star of the show in apple pancakes, of course. I used Gala apples, but you can use your favorite type. Note that different apples have different levels of sweetness!
- All-Purpose Flour - Our base is going to be good ole all-purpose flour. Bleached or unbleached is fine.
- Baking Powder & Soda - The baking powder assists with giving a great rise to the pancakes. Baking soda helps with getting that perfect golden-brown color.
- Almond Milk - My household doesn't consume dairy milk, so almond or oat are what I've used in these pancakes.
- Melted Butter - A bit of melted butter gives our batter the perfect amount of fat for flavor and moistness.
Variations and Substitutions
To Dairy, or Not?: Buttermilk instead of nondairy milk will result in a fluffier pancake. If you only have regular milk, that's fine too.
Toppings: Serve as pictured, with more chopped apples and syrup. Or, drizzle some local honey on top. Fun fact: I actually love topping my pancakes with jam - these would be so good with homemade blueberry preserves!
How to Make Pancakes with Shredded Apples
I'm a sucker for baked good recipes that only require ONE bowl. The key is to gently mix together the dry ingredients in a pile before incorporating everything towards the end. Check out my Instagram for step-by-step video instructions.
- Start out by shredding your apples into a large mixing bowl. Note: the chemical reaction of cooking these pancakes turns the red apple skin green! The taste isn't affected at all; but if that weirds you out, just peel the apples before shredding.
- Add in the remaining wet ingredients to the bowl like the melted butter, your choice of milk, water, large eggs, and vanilla extract.
- In that same bowl, create a pile of the dry ingredients: the flour, sugar, baking soda and baking powder, and the salt.
- Mix the dry ingredients together on that pile. This helps us avoid having to have an entire separate dirty dish for dry ingredients!
- After that, gently fold the wet and dry ingredients together until you get a batter. The consistency will be a little runny; see the process pictures below.
- Let the batter sit for 10 minutes, then you're ready to cook.
- Use a ¼ cup measuring spoon to keep your pancakes the same size.
- My secret to perfectly golden brown pancakes with that crispy edge? Cook them on medium heat with non-stick spray and a touch of butter.
- Finally, when the pancakes have tons of bubbles on top, flip again. Only flip one time to keep the pancakes fluffy. That's it!

The finished batter should be slightly runny and look like this.

Use a measuring cup for evenly-sized pancakes.

Once the top of the pancake forms tons of bubbles, it's time to flip!

Serve with lots of syrup and extra chopped fruit or fruit jam.
Recipe Pro Tips
- Let the batter rest for a bit. After mixing the batter, let it sit for 10 minutes before cooking. This allows the leavening agents like baking powder/baking soda to activate, making for a fluffier pancake.
- Supreme Pancakes. My secret for Insta-worthy pancakes with that golden brown crust? Add non-stick spray to your hot pan, then drop in a bit of butter. Pour your pancake batter right on top of that melted butter.
- Enjoy the chef's tax. The first pancake always turns out a little wonky - it's used to figure out if your heat is too high/too low, or if your batter has sat out for the right amount of time. I never serve this "test pancake" and just munch on it to make sure everything tastes good!
- Keep 'em warm. When making a lot of pancakes, you can store the finished ones on a sheet pan in the oven on its lowest setting. It'll keep everything warm without drying out your hotcakes.
Recipe FAQs
We call this the "test pancake" or the "chef's tax". The first pancake should always be sacrificed so you can ensure the heat is correct for the remainder of your cooking time! You want to aim for medium-heat, and a cast-iron skillet will distribute the heat most evenly.
So, this is due to the chemical reaction of the red apple peels and the other ingredients of the pancakes, all being cooked at high heat.
The taste of your pancakes will be unaffected. However, you can avoid the kooky colors by just peeling your apples before shredding them into your batter.
At room temperature, the FDA would recommend no longer than two hours at the maximum. This batter can sit in the refrigerator overnight, but the baking soda will begin losing its "power" so your flapjacks won't be as fluffy.
I personally recommend to just cook up all of your batter and then store your cooked pancakes in the fridge.
Yes! These pancakes, when stored properly in a freezer-safe bag, can keep in the freezer for up to 3 months. To reheat, I'd defrost them in the fridge overnight and use a toaster oven or air fryer.
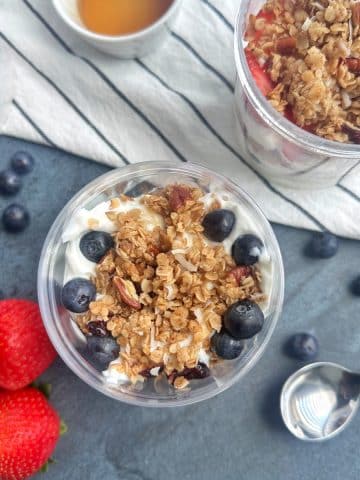
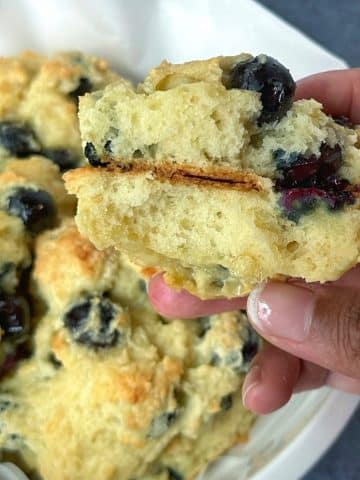
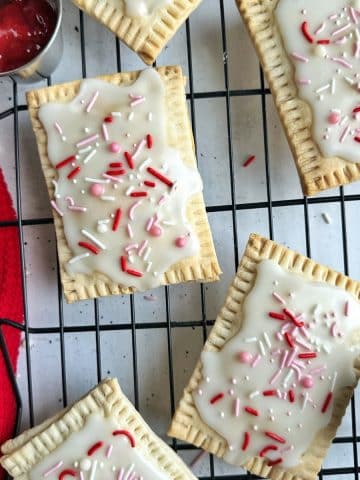
Other Sweet Breakfasts You'll Love!


If you tried this Shredded Apple Pancakes Recipe, or any other recipe on my website, please leave a star rating and let me know how it went in the comments below. I love hearing from you! Thanks for visiting!

Easy Shredded Apple Pancakes
Equipment
- Mixing Bowl
- Wooden Spoon
- Grater
- Vegetable Peeler optional, you can also leave the skin on!
- Griddle or large skillet
- Spatula
Ingredients
Wet Ingredients
- 1 ½ count red apples
- 3 tablespoon salted butter melted
- 1 ½ cups milk I used almond milk
- ½ cup water
- 2 count large eggs room temperature
- 1 teaspoon vanilla extract
Dry Ingredients
- 2 cups all-purpose flour
- 2 tablespoon granulated white sugar
- 2 teaspoon baking powder
- 1 teaspoon baking soda
- 1 teaspoon salt
Instructions
- Start by shredding your apples into a large bowl. You can keep the skin on for extra fiber, or peel before shredding.1 ½ count red apples
- Add the remaining wet ingredients: melted butter, milk, water, eggs, and vanilla extract. Stir well.3 tablespoon salted butter, 1 ½ cups milk, ½ cup water, 2 count large eggs, 1 teaspoon vanilla extract
- Create a pile in that same bowl with the dry ingredients: the flour, sugar, baking powder, baking soda, and salt.2 cups all-purpose flour, 2 tablespoon granulated white sugar, 2 teaspoon baking powder, 1 teaspoon baking soda, 1 teaspoon salt
- Mix together the dry ingredients in the pile on top of the bowl, then gently fold everything together to form your pancake batter. The batter should be more on the runny side.
- Let the batter stand for 10 minutes.
- Prep a griddle to medium heat with nonstick spray and a bit of butter.
- Add ¼ cup of batter per pancake to the griddle, ensuring that you space out the pancakes to avoid them running together.
- Flip the pancakes after lots of bubbles form on top.
- Serve pancakes with extra butter, maple syrup, and chopped apples. Enjoy!


Karen says
My mother used to make tgese with local apples in season on Sundays! I didnt have a recipe and shes gone. I used coconut sugar instead of refined sugar. Added 1tsp cinnamon. They were good but too much salt. Next time I will only use 1/2tsp salt. Took me right back to childhood! TY!
Shani H. says
Aww I love that Karen! I bet your mom's were the best, especially with those fresh apples. Thank you for leaving a review 🙂
Jennifer says
Forgot to add, I let the batter sit overnight in the fridge and it worked perfectly!
Shani W. says
This is great feedback!!
Jennifer says
Wow! I’m making these right now and I just had one hot off the griddle. Amazing! The apple keeps them moist and they are just the right level of sweetness.
Shani W. says
Thank you so much for your review Jennifer!
Marshea says
I really liked these pancakes. There are lots of recipes out there with chopped apples, but I wanted something where the apples gave flavor to the batter, not texture. Shredding the apple first helps it incorporate a lot better...we are baby led weaning and were able to use these pancakes for our 11 month old. I'll be back to the site to try more recipes.
Shani W. says
Marshea, I had the same thoughts on chopped apple recipes which inspired me to develop this one! Thank you so much for commenting, and congratulations on the new addition to the family 🙂