
Using Brown Butter in place of regular truly elevates and deepens the flavor profile of any savory or sweet dish! It's versatile, simple to make, and everything is ready in about 10 minutes.
There's so many recipes that are made even better with browned butter! It has a toasty, nutty flavor and aroma that's reminiscent of butterscotch. Keep reading below to learn more about the science of browning butter, and get some tips and tricks for perfect butter every time!
Ingredients
- Quality Butter - You only need one ingredient to make browned butter - butter! Salted or unsalted both work great; check the recipe you're using to see which type to grab.
What is Browned Butter and What Recipes Call For It?
Browned Butter is simply butter that has been toasted over the stove. After it initially melts, the milk solids in butter begin to turn golden brown and a little bit of moisture will evaporate. It has a warm, nutty aroma and taste that reminds you of caramel or butterscotch. You can have brown butter in less than 10 minutes!
Brown Butter Chocolate Chip Cookies: Using browned butter in chocolate chip cookie dough lends to a toffee-like flavor. These cookies are incredibly chewy and delectable.
Browned Butter Banana Bread: Banana bread is one of my favorite types of bread to make - and perfectly sweet Brown Butter Banana Bread stays moist for days!
Brown Butter Sage Cornbread: Not only for sweet dishes - brown butter elevates the taste of cornbread for a delicious bite! In this recipe, we actually toast fresh sage leaves in the same pot of butter to infuse sage flavor into every bite.
Brown Butter Rice Krispies: Browned Butter Rice Krispies are a great way to elevate a classic, nostalgic dessert! The nutty, toasted butter flavor combined with marshmallows is reminiscent of campfire nights.
What Does Browned Butter Taste Like?
There's some really tasty flavor notes in brown butter: It's described as nutty, toasty, and warm. Brown butter tastes similar to toffee, caramel, or butterscotch.
When cooking, the water will begin to evaporate from the butter. At this stage, the milk solids (which consist of proteins and sugars) go through the Maillard reaction. This creates really tasty flavor compounds to get the flavor profile we want. The chemical reaction also changes the color of your butter; this is how the milk solids toast and turn golden brown.
How to Easily Brown Butter
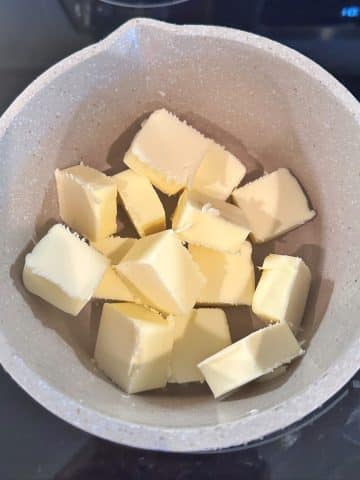
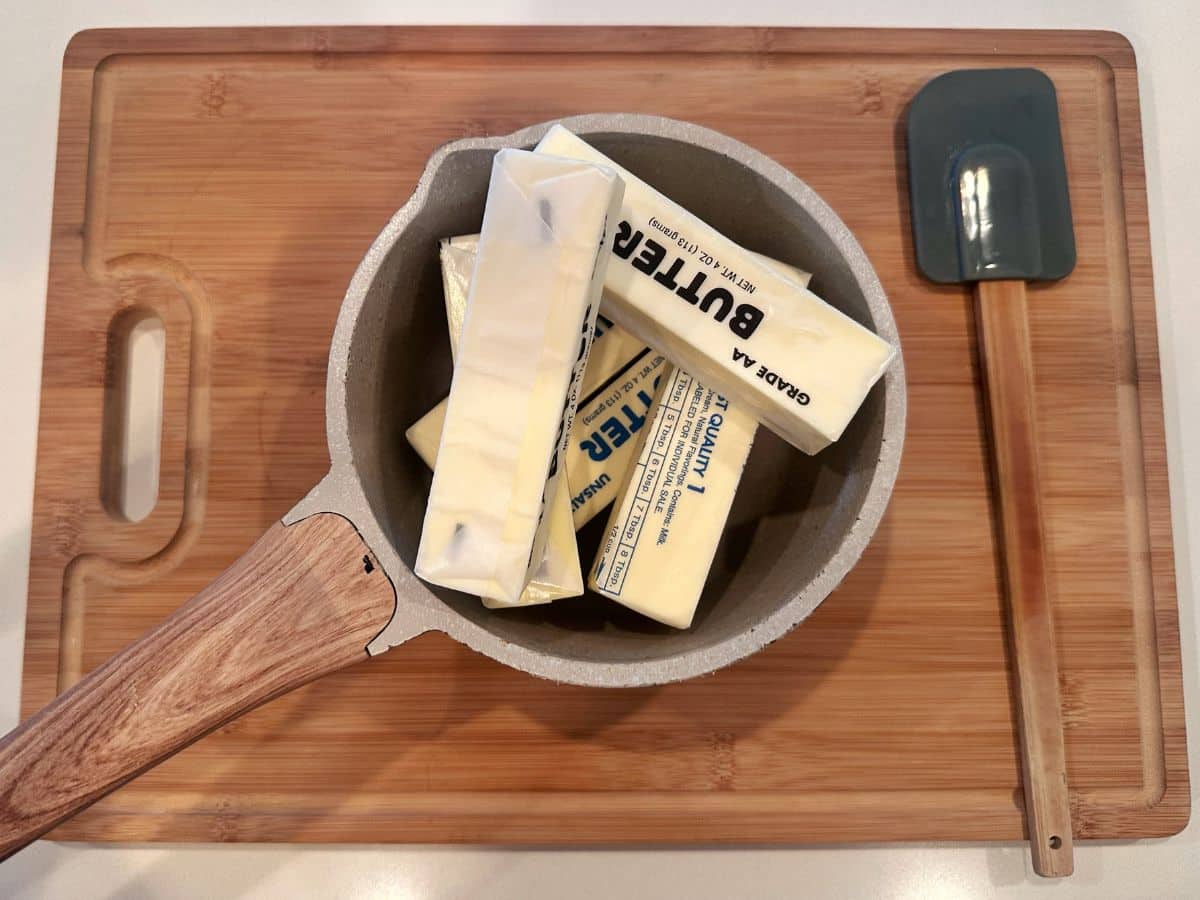
Step 1: Start out by slicing your butter into pats, and add to a light-colored saucepan or skillet.
The color of the pan helps you to watch the butter as it browns.
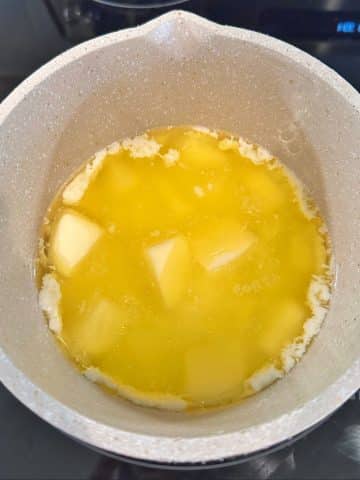
Step 2: Begin melting the butter on medium-low heat.
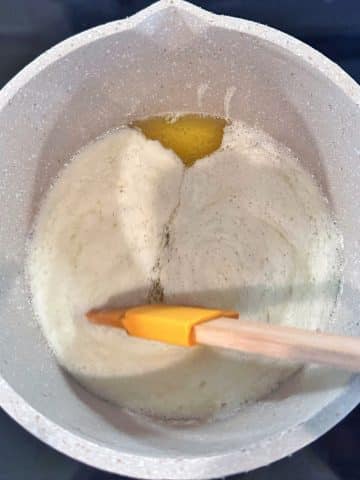
Step 3: After a few minutes, a thick layer of foam will form on the top.
Begin to occasionally stir the butter to avoid burning.
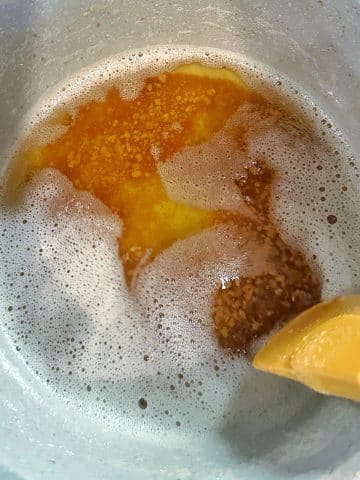
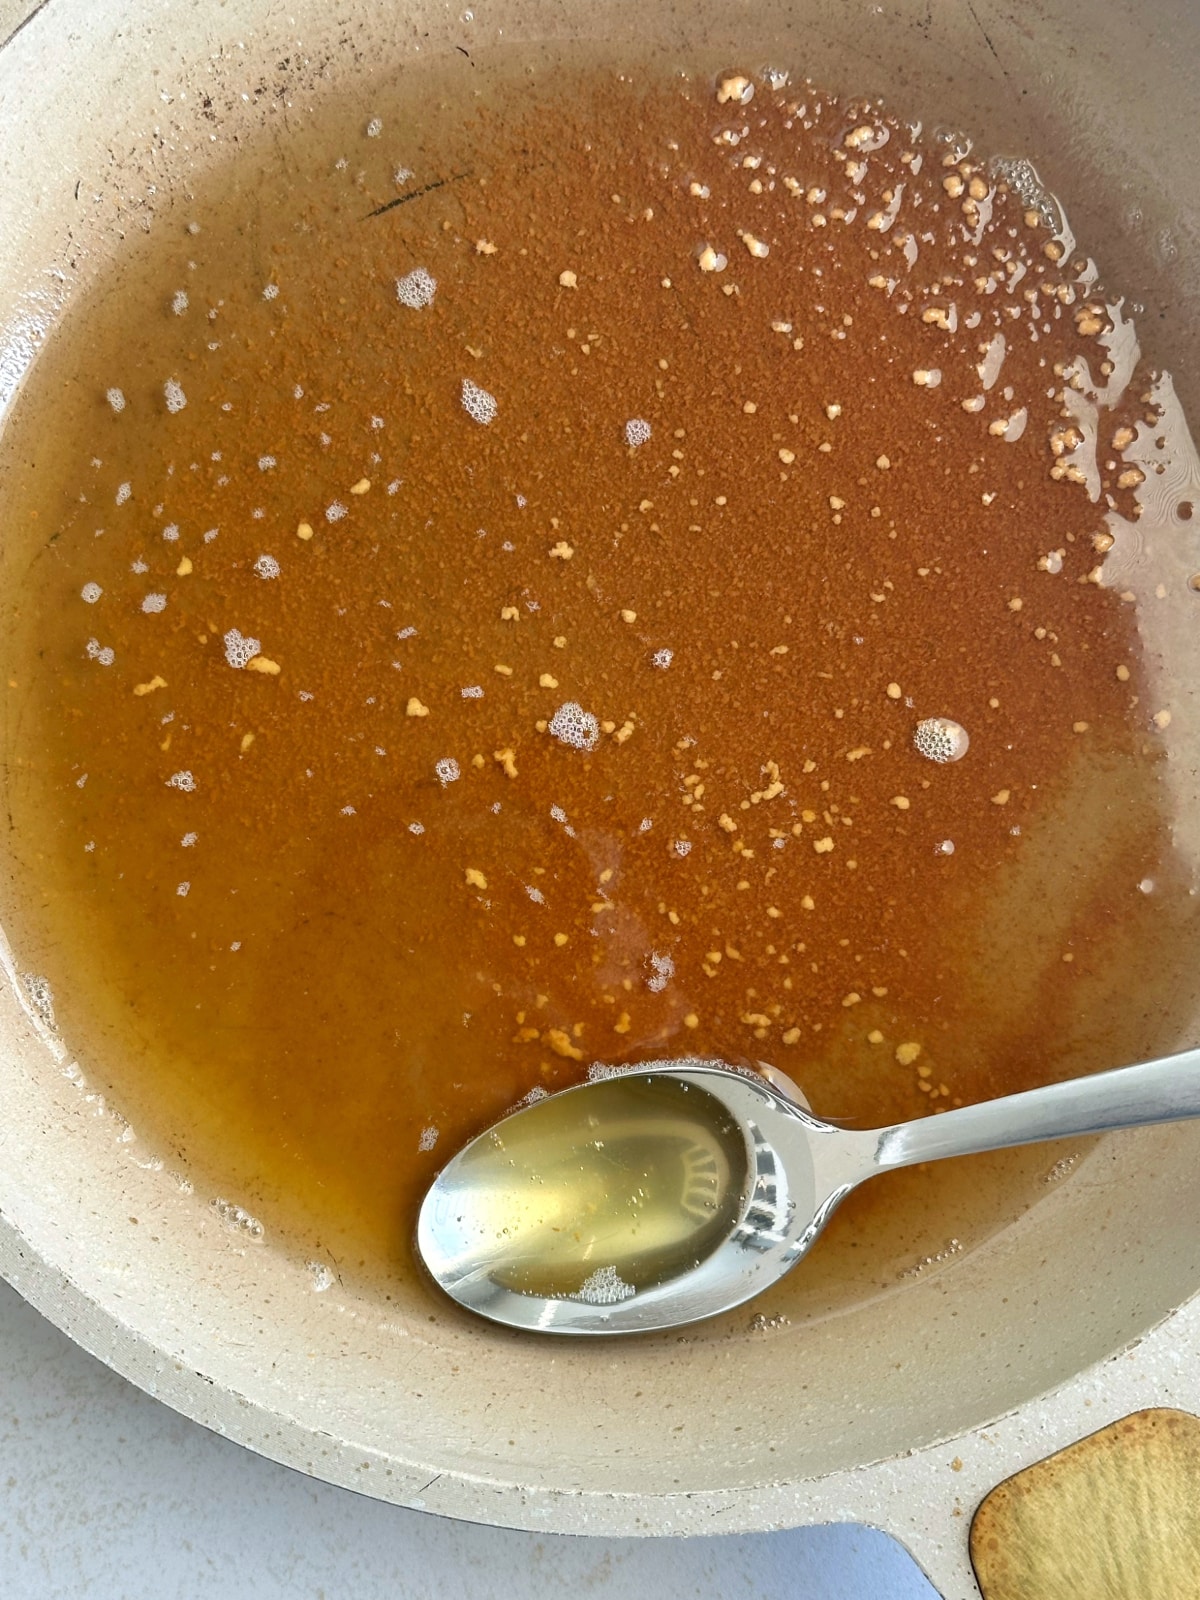
Step 4: Small brown specks of milk solids will form at the bottom; continue to stir so they don't stick to the pan.
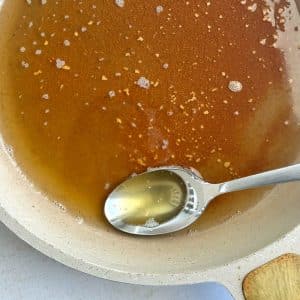
Step 5: At this stage, the browned bits should be golden brown and the rest of the butter will be amber colored.
The pot will smell deliciously nutty. Remove from heat.
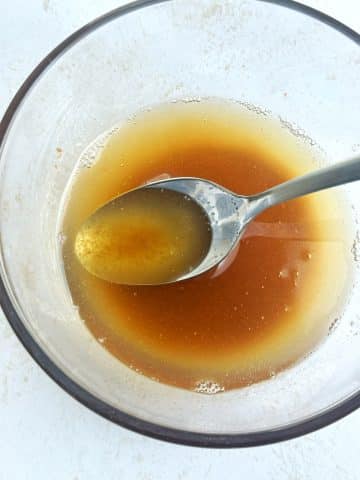
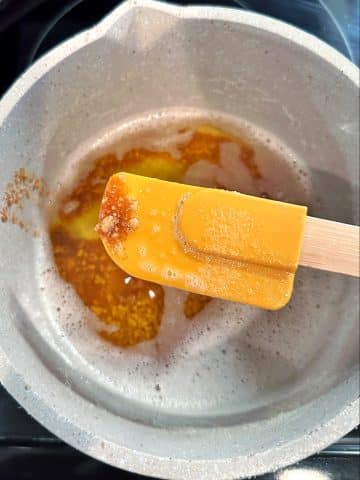
Step 6: Pour the browned butter into a heat-safe container.
You can use in some recipes immediately; but for others - simply chill in the refrigerator or on the counter as needed.
Recipe Pro Tips
- Don't walk away! Your butter can go from browned to burned in a matter of seconds. Make sure you stay focused on the pan so you can watch for visual and aromatic cues.
- The pan matters. Especially when you're first learning how to brown butter, make sure to use a light-colored pan! This is so you can easily see the color changes and take the pan off of the heat at the perfect time.
- Stir consistently, and remove from heat. Stir very often while the butter is browning, and then immediately remove the pan from heat once it's done to stop the butter from cooking any longer. Make sure to have a heat-safe container on standby.
- Moisture loss. Depending on the brand of butter you buy, you can lose between 15 - 25% of moisture during the browning process. For baked goods, add a tablespoon or two or milk into your batter to replenish the moisture.
Recipe FAQs
If it isn't too burnt, you can strain the butter through a fine meshed sieve. This will remove the bitter, burnt milk solids.
It honestly will depend on the brand of butter. If the recipe does not give you the unmelted quantity, I recommend accounting for a 12.5% loss of moisture.
So if you need 1 cup of browned butter, melt 1 cup + 2 tablespoons of butter. Be sure to measure once you're done to ensure you have as much as you need.
A quality brand of butter with at least 82% fat is best. Again, you can brown any type of real butter, but lower-fat types will take longer because of the increased water content.
Store it in the refrigerator for up to 1 week.
Honestly, you can use brown butter in any recipe that calls for softened or melted butter. Try it in my Peanut Butter Chocolate Chip Cookie Skillet, Garlic Butter Shrimp Scampi, Creamy Dreamy Mashed Potatoes, or Bakery-Style Wild Blueberry Muffins.
Recipes That Call for Browned Butter:


If you learned How to Brown Butter and used my tips in the kitchen, or used any other recipe on my website, please leave a star rating and let me know how it went in the comments below. I love hearing from you! Thanks for visiting!
How to Brown Butter
Equipment
- Light-Bottomed Pot or skillet
- Silicone Spatula or spoon
- Heat-Safe Bowl for storage
Ingredients
- 1 cup + 2 tablespoons butter salted or unsalted
Instructions
- Slice butter into cubes, and add to a light-colored saucepan or skillet.1 cup + 2 tablespoons butter
- Melt on medium-low heat, stirring consistently.
- The butter will begin to form a layer of foam on top, and browned bits (these are milk solids) on the bottom of the pan.
- Once the butter is amber colored and has a deep, nutty aroma - remove the pan from heat. This should take about 10 minutes.
- Pour the browned butter into a heat-safe bowl to stop the cooking process.
- That's it! You can use the browned butter when it has cooled to room temperature, or chilled until solid; just check the recipe you're using. Enjoy!


Cara says
Thank u for this tutorial! I have burned my butter many times. Using ur tips helped a ton!
Shani H. says
Yay! Thank you for leaving a review Cara!