

Ready to take your pies, quiches, and desserts to the next level? This flaky, homemade All Butter Pie Crust has the perfect texture and taste; and is surprisingly easier than you think to make.
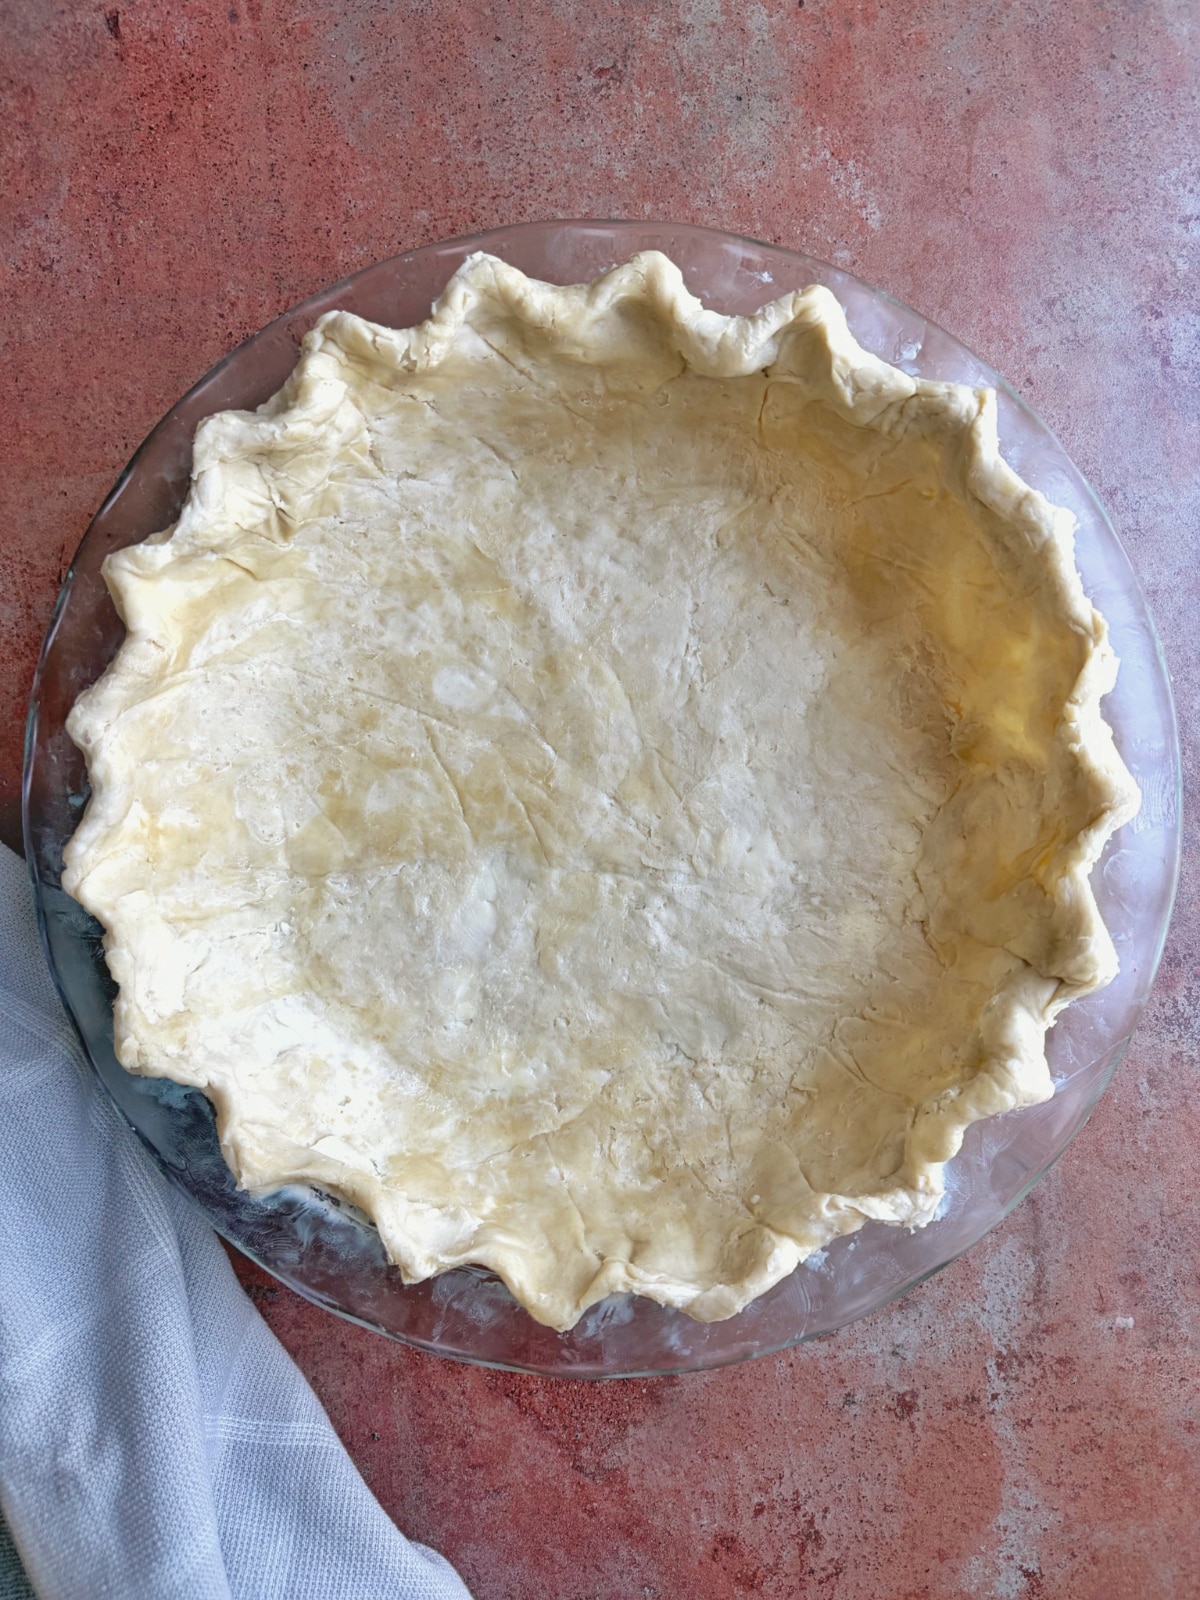
With only 5 kitchen-staple ingredients, you can make this pie dough that bakes up so flaky, buttery, and light! Using homemade pie crust seriously elevates your dessert game. And because it's so easy to make ahead or freeze, you can have it on standby for when the baking urge hits!
The Coined Breakdown
- Total Cost per serving (top & bottom crust): $3.78
- Total Cost (one double crust): $3.78
- Those Other Guys: $4.26 per double crust
Ingredients
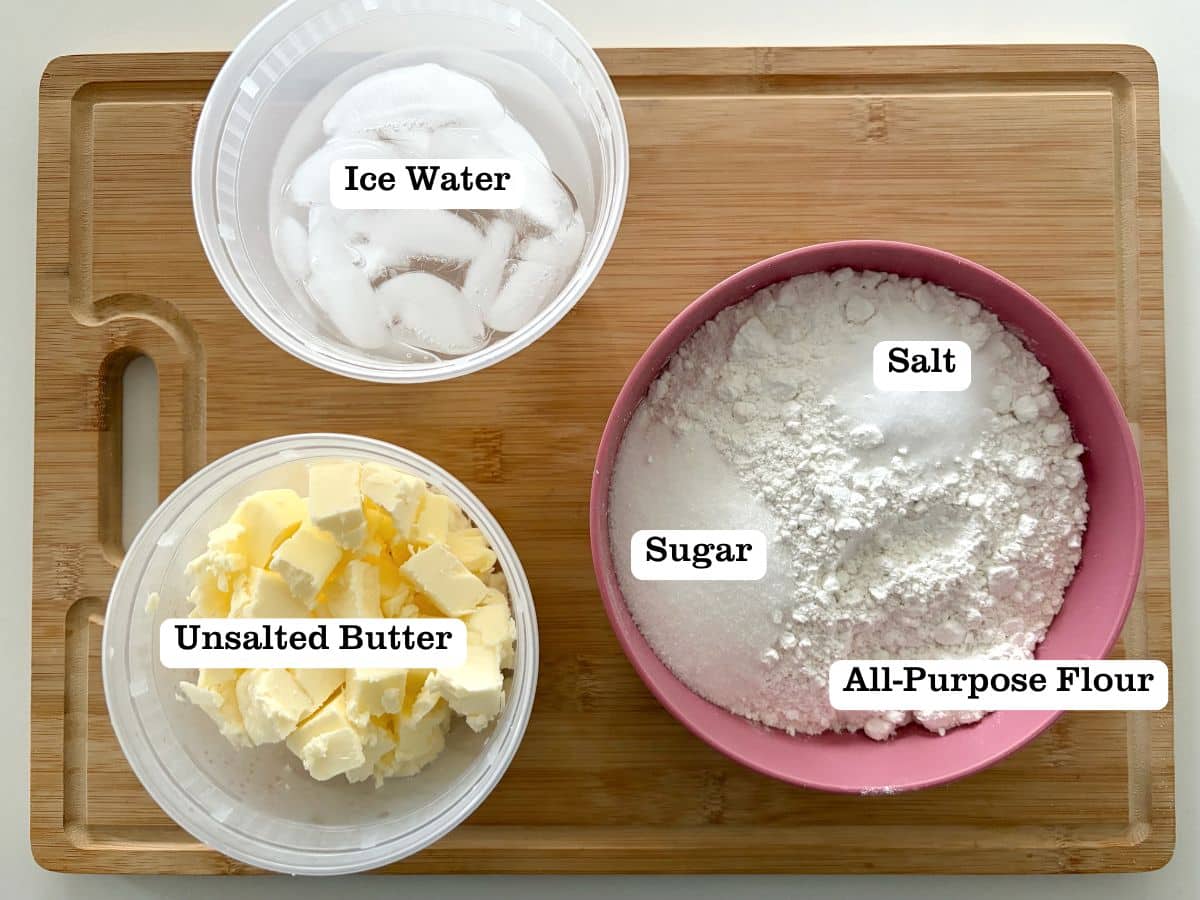
- All-Purpose Flour - Provides structure for pie dough.
- Unsalted Butter - Using butter as your fat choice gives that signature flavor and a flaky texture after baking. Make sure your butter is very cold.
- Sugar - Helps with browning. Don't worry; the dough isn't sweet.
- Salt - To add flavor (especially since we use unsalted butter!)
- Ice Water - Ice-cold water brings everything together and hydrates the dough perfectly.
Recipes that Use Homemade Pie Crust
You can go savory or sweet with recipes that use pie crust.
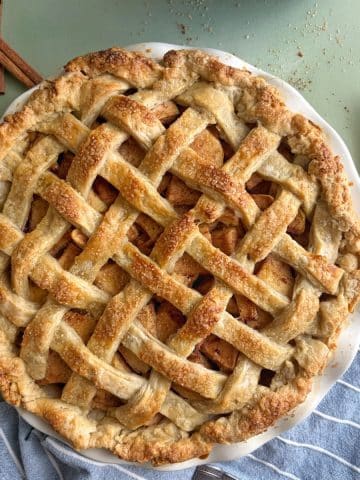
Classic Apple Pie: Packed with tons of tender spiced apples and with a beautiful lattice crust, this apple pie recipe is a staple for holidays.
Hand Pies: I love making hand pies for a portable dessert that's easy to serve at parties or larger gatherings. Try my Jack-o-Lantern Hand Pies for Halloween, or Christmas Tree Hand Pies with cranberry-orange jam for the Christmas holiday.
Chicken Pot Pie: Although this Chicken Pot Pie recipe uses puff pastry, you can substitute that out for pie dough for a more traditional pot pie.
Quiches: Only needing a bottom crust, savory egg quiches are a brunch option that always impresses in terms of taste and presentation!
How to Make Homemade All-Butter Pie crust
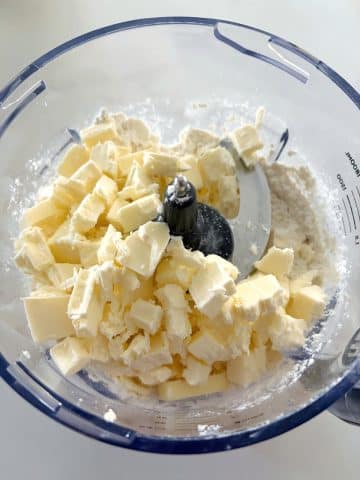
Step 1: Start out with cubed, very cold butter and flour, salt, and sugar.
You can either press the butter into the flour using your fingers or a food processor.
You should still see pea-sized pieces of butter in the flour when you're done.
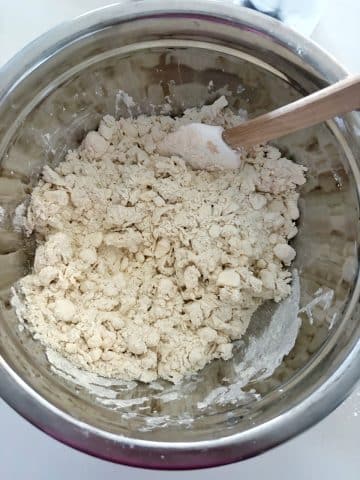
Step 2: If using a food processor, transfer the mixture to a large mixing bowl.
Add ice water and combine until a shaggy dough forms.
Once you can squeeze a small bit of dough in your hands and it clumps together, you're ready to move on.
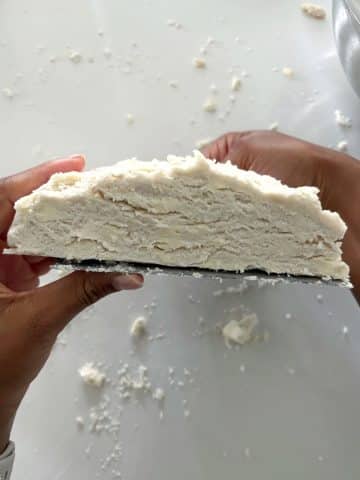
Step 3: Transfer the shaggy dough to a cleaned (not floured) workspace. Gather into two even piles, and gently press them into two 1-inch thick discs.
You should see those beautiful layers in the cross cut! Wrap in plastic wrap and rest in the refrigerator for at least 2 hours.
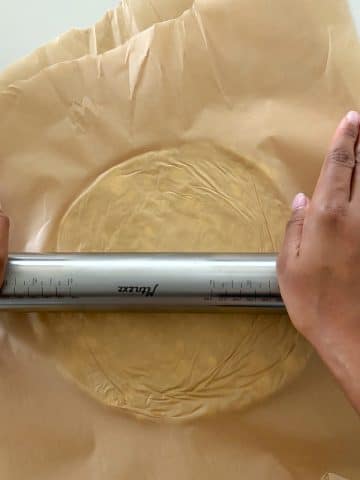
Step 4: When you're ready to roll out, use a lightly floured surface and a rolling pin with gentle pressure. For a 9-inch pie, roll out a 12-inch circle.
Keep the other disc in the fridge while you're working on the current one.
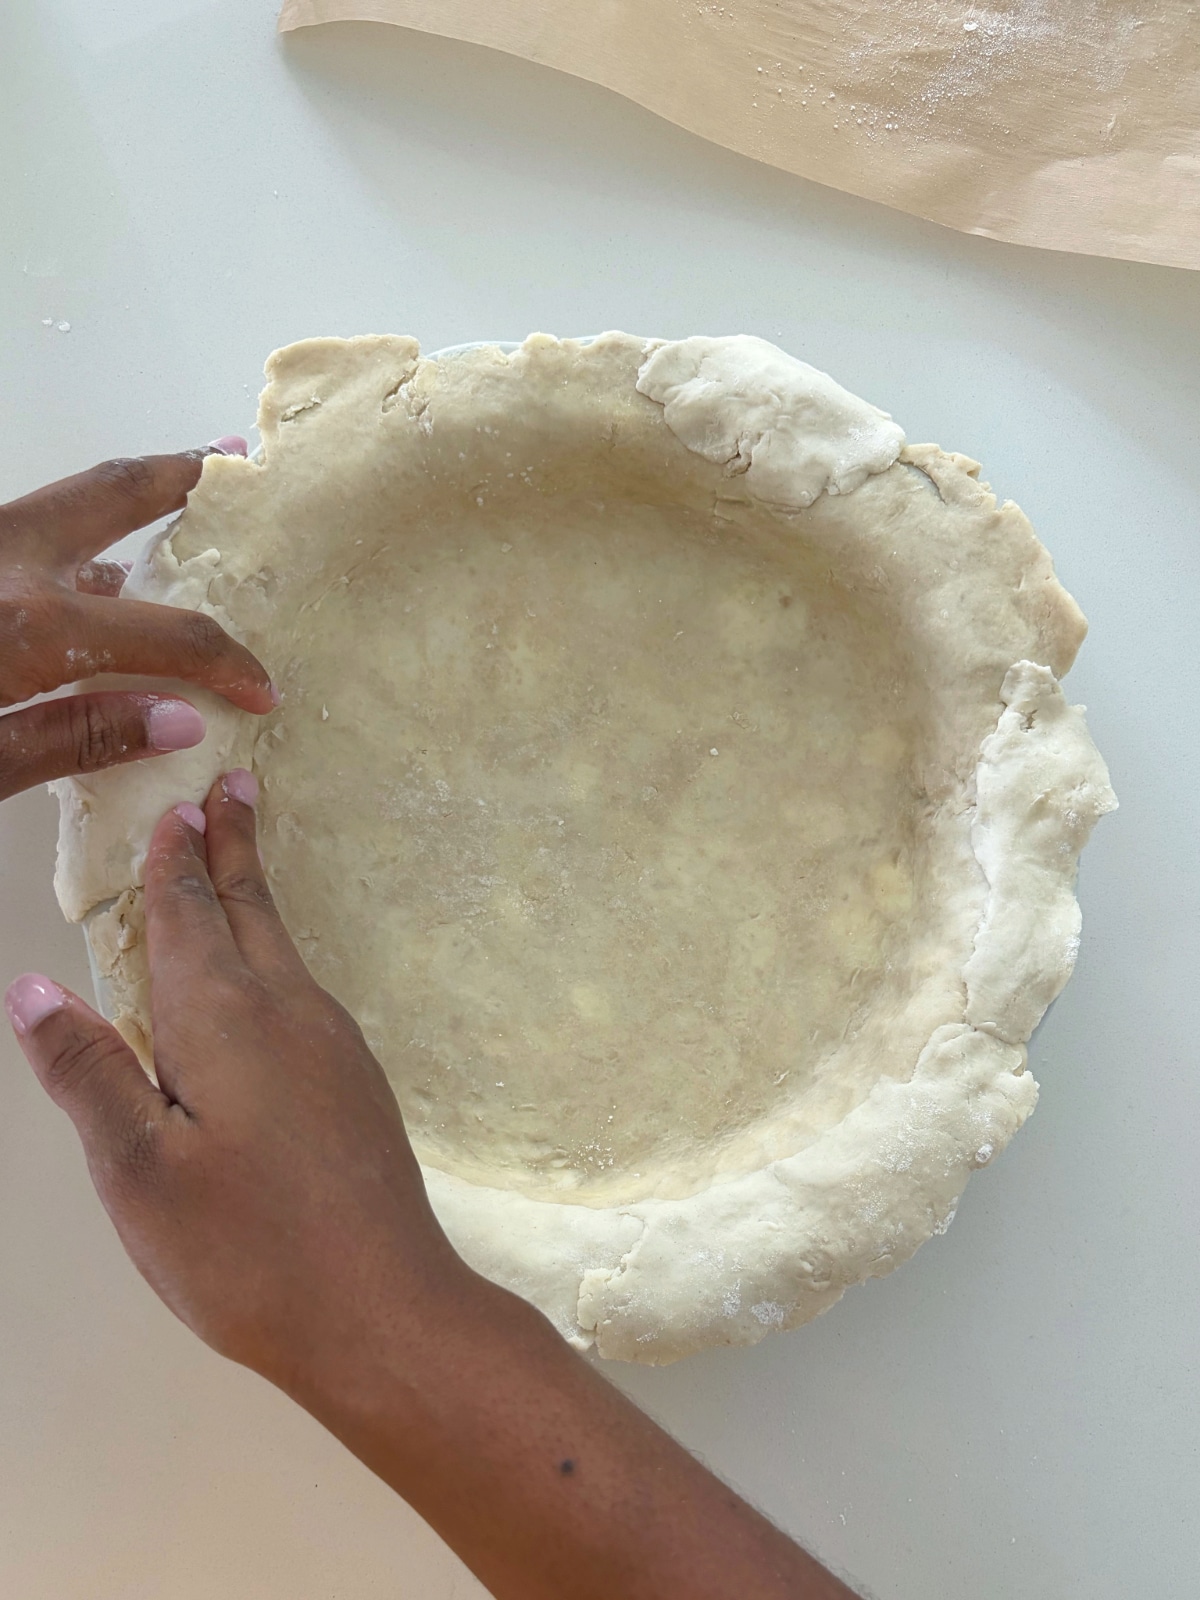
Transfer to a pie dish, and follow your recipe instructions from here.
Recipe Pro Tips
- Source quality ingredients. Because we use a small amount of ingredients, getting quality butter, unbleached flour, etc. helps elevate the final taste and texture of the pie crust.
- Use really cold butter. I recommend putting the butter in the freezer for about 10 minutes before incorporating into the flour. The colder your butter is, the more steam it will release when it hits the hot oven. This creates a flaky, puffy pie crust.
- Also, keep everything cold! Keep the pie dough cold at all stages; if
- Don't overwork the dough. Overworking pie dough can create a tough crust that isn't any good. Be sure to use your hands to form the discs before refrigerating, and gently roll out with a rolling pin.
- Decorate according to the recipe. Some recipes require a blind bake, while others use raw dough on the bottom. Other recipes only need one bottom crust (so you can flute and decorate the crust before baking), but other recipes with a top crust need to be sealed before crimping.
Recipe FAQs
Work in a little more flour into the dough to get it back to a shaggy texture, before rolling out and chilling the dough.
You can; add a tiny amount of ice water at a time, working it into the dough with your hands until it no longer breaks and cracks into large pieces.
There's a few keys to a crispy bottom crust, even under all of those apples!
- Bake the pie for the full recommended time. If your crust begins browning too much for your preference, use pie shields or aluminum foil.
- Use a glass pie dish. Glass conducts heat much more evenly than ceramic, plus you can also see the bottom turn brown!
- Blind bake the bottom crust. You can always pre-bake the bottom crust, using pie weights, for 10 - 15 minutes to give the crust a head start.
After wrapping each disc in plastic wrap, you can place them in a freezer-safe bag and freeze for up to 3 months.
When you're ready to use, allow the pie dough to defrost overnight in the refrigerator before rolling it out.
Other Homemade Dough Recipes You'll Love!



If you tried this All-Butter Pie Crust Recipe, or any other recipe on my website, please leave a star rating and let me know how it went in the comments below. I love hearing from you! Thanks for visiting!
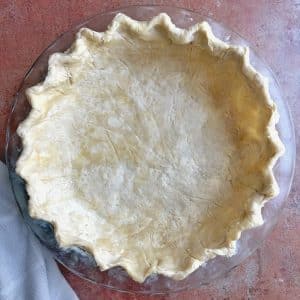
All-Butter Pie Crust
Equipment
- Large Mixing Bowl
- Dough Whisk
- Food Processor (optional)
- Plastic Wrap
Ingredients
- 1 cup salted butter (cubed and ice-cold)
- 3 cups all-purpose flour (420 grams)
- 1 tablespoon sugar
- 1 teaspoon salt
- 10 - 12 tablespoons ice water (may need a bit more)
Instructions
- Slice the butter into small cubes, and place in the freezer for about 10 minutes.1 cup salted butter
- Meanwhile, pour your flour, sugar, and salt in a large mixing bowl or food processor cup. Stir well to combine.3 cups all-purpose flour, 1 tablespoon sugar, 1 teaspoon salt
- Add in the ice-cold butter cubes to the dry ingredients, using your fingers or the food processor's "pulse" setting to cut the butter into the flour.You're ready to move onto the next step when the bowl looks a bit like damp sand; there should be pea-sized chunks of butter still visible.
- If using a food processor, transfer this mixture to a bowl.
- Pour in 10 tablespoons of ice water into the bowl. Begin gently combining the dough. If you need more water, use a teaspoon at a time.The dough will still look shaggy, but should stick together once pressed together in your hands. The key to flaky pie crust is to use as little water as possible!10 - 12 tablespoons ice water
- Transfer the shaggy dough onto a cleaned workspace. Separate into two even piles, then create two 1-inch thick discs.
- Wrap each piece of dough tightly in plastic wrap, and shape into a disc again. Chill in the refrigerator for at least two hours. This allows the flour to hydrate and the butter to remain cold for a flakier crust.
- When you're ready to bake: Start with a lightly floured work surface and work with one sheet of dough at a time.Using a rolling pin (and a gentle amount of pressure), roll from the center and move outward; rotate the dough 90 degrees after every few rolls. Keep the 2nd dough disc in the refrigerator until you're ready to use it.
- Continue preparing your desserts per the recipe instructions. Some desserts require a parbaked crust, while others can be baked with a completely raw dough. Enjoy!

Did you make this recipe? Let me know what you think!