

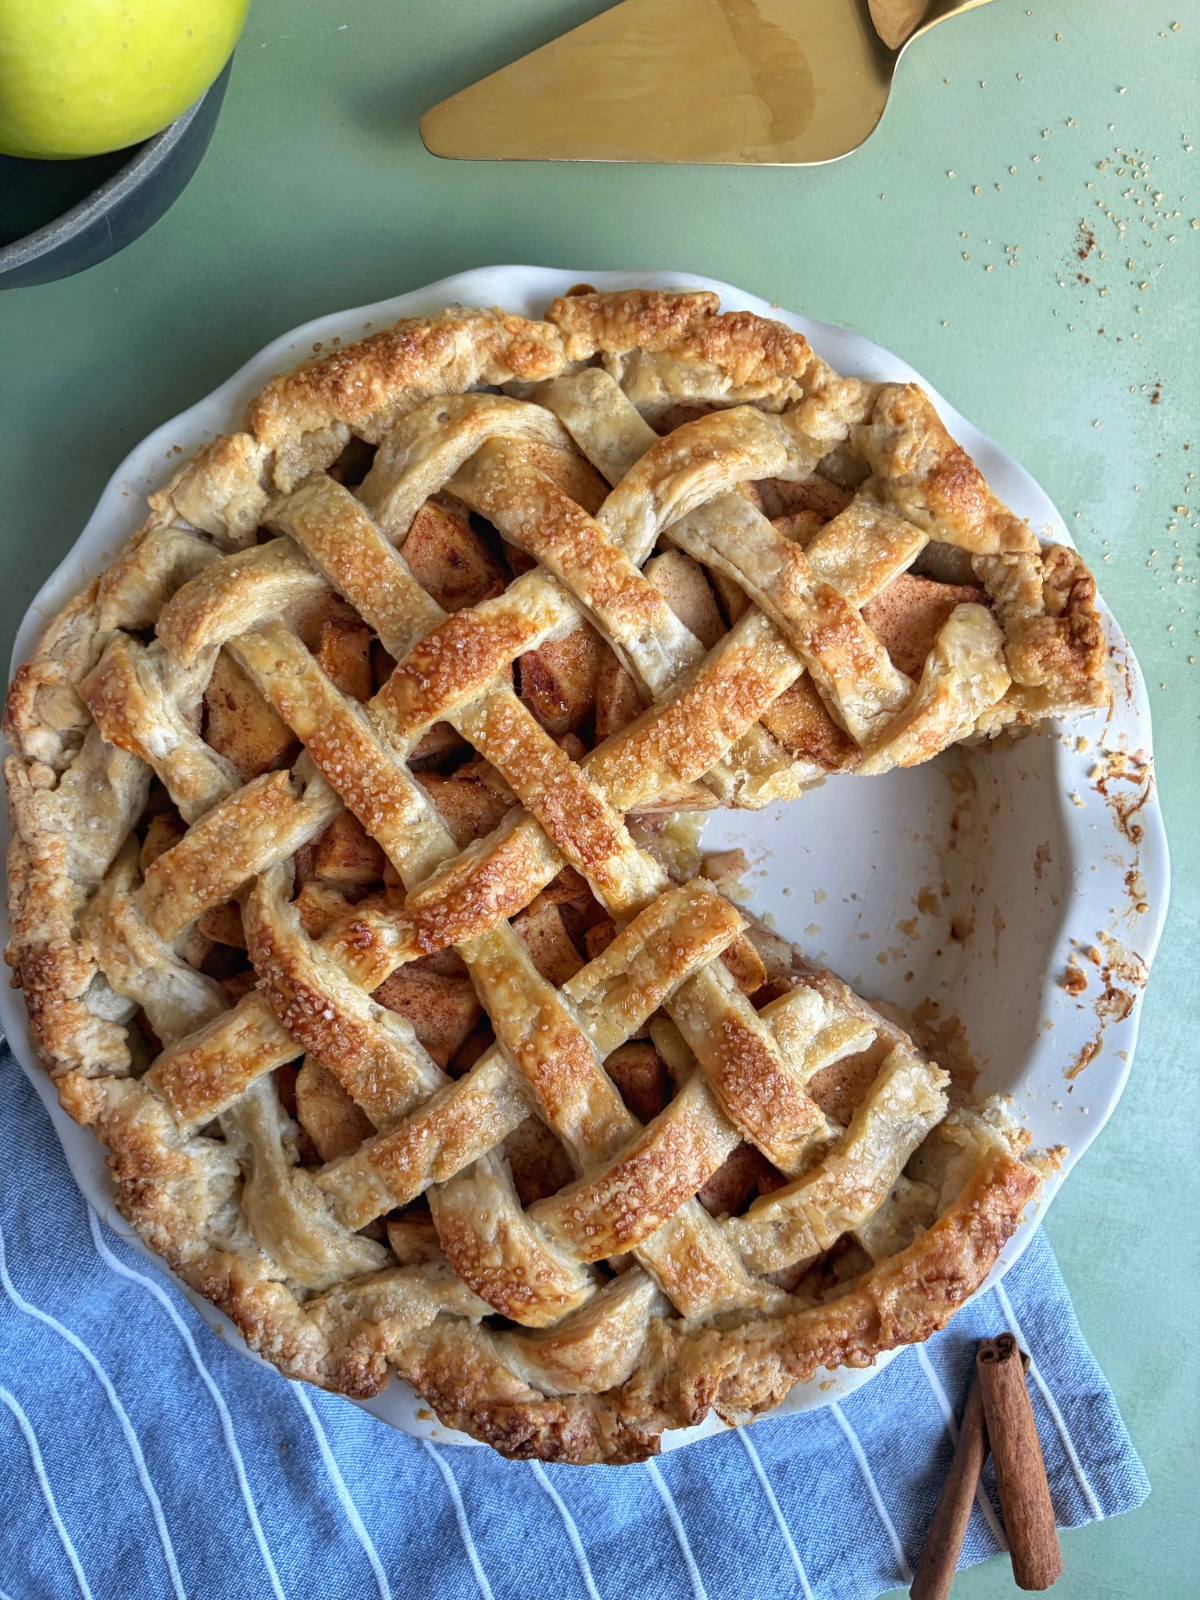
There's something about a Classic Apple Pie that just absolutely shines! Tons of juicy, perfectly tender apples are coated in cinnamon-sugar goodness and packed inside a flaky pie crust. The gorgeous lattice crust on top takes the presentation to the next level; but it tastes even better than it looks!
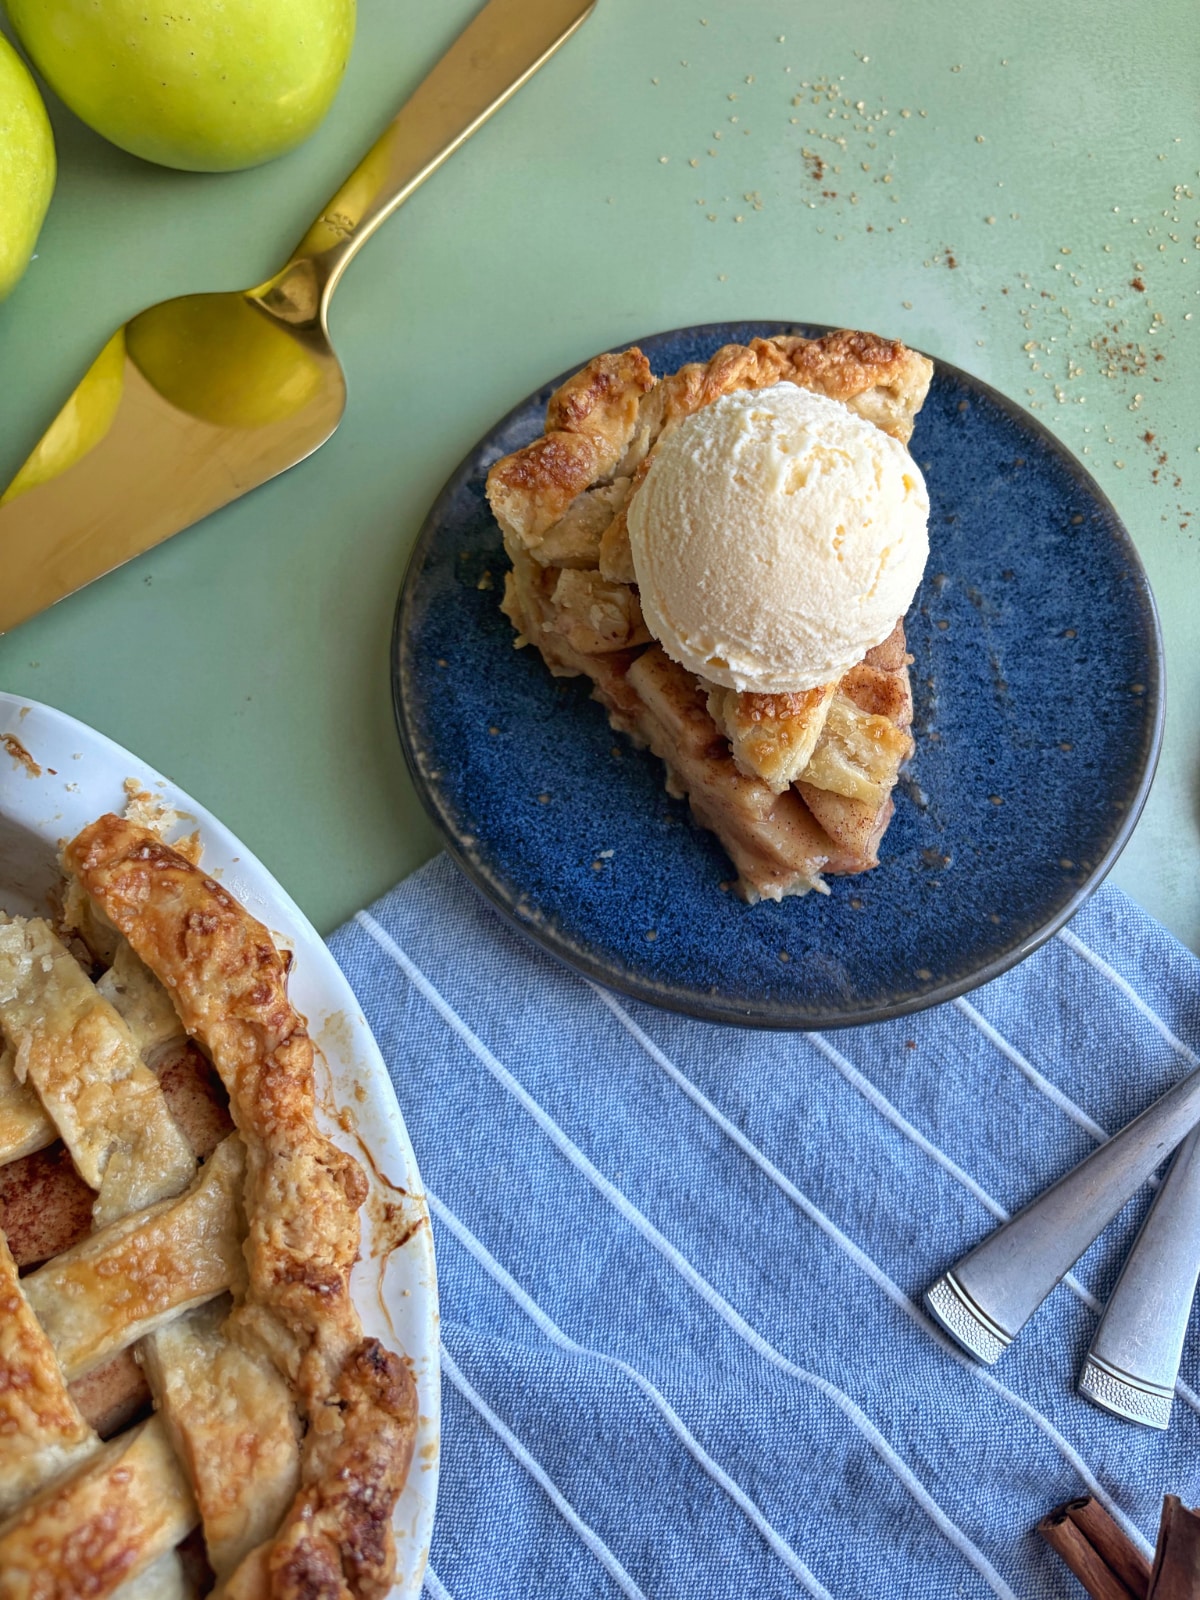
Apple pie is a great dessert to make anytime; bring it to Thanksgiving dinner or make a batch after going apple picking in the Winter. This recipe uses my homemade, flaky, all-butter pie crust for even more decadence.
Although it looks like it came from a bakery, it's really so easy to make this treat. Keep reading below for all the tips and tricks needed to get a show-stopping pie every time.
The Coined Breakdown
- Total Cost per slice: $1.25
- Total Cost (about 8 slices): $10.03
- Those Other Guys: $39.95 per bakery-style pie
Ingredients

- Apples - I like to do a mixture of tart and sweet apples; Granny Smith and Honeycrisp are my favorites for pie. I recommend more tart apples than sweet. They will cook down beautifully in the oven.
- Apple Cider - This is optional, but a little apple cider really adds something special to the apple filling. I have a recipe for homemade apple cider here!
- Brown Sugar - You can use regular or brown sugar, but I think the molasses in brown sugar adds a great depth of flavor.
- Spice Mix - A mixture of cinnamon, nutmeg, ground nutmeg, ground ginger, and allspice - plus a little salt to balance out the sweetness - makes up the seasoning for our apples.
- Turbinado Sugar - Sprinkle coarse sugar on the pie dough right before baking for a nice crunchy texture once it comes out of the oven!
Variations and Substitutions
Salted Caramel Apple Pie: Pour layers of rich salted caramel sauce in between the apple slices, saving a little salted caramel to drizzle on top after baking!
Apple Hand Pies: All the flavors you love in a portable hand pie. Be sure to add lots of cinnamon sugar to the crust.
Apple Crumble Bars: These are great for a party! Perfectly sweet apples are topped with a buttery crumble topping.
Apple Pie Baked Oats: Looking for a fiber-packed breakfast to use up any extra apples? This baked oats recipe tastes so good, you will forget you're eating a nutritious breakfast!
How to Make a homemade apple pie
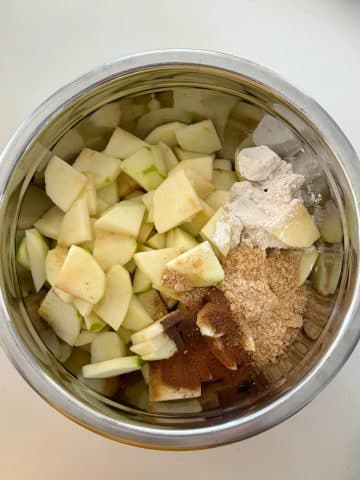
Step 1: If you haven't already made your pie dough, go ahead and prepare it so it can be properly chilled.
Meanwhile, toss peeled and sliced apples in a mixture of sugar, spices, flour, apple cider, and lemon juice.

Step 2: Roll out your pie dough into a 12-inch circle, then gently transfer onto a pie plate.
Check out my all-butter pie crust recipe for more details.
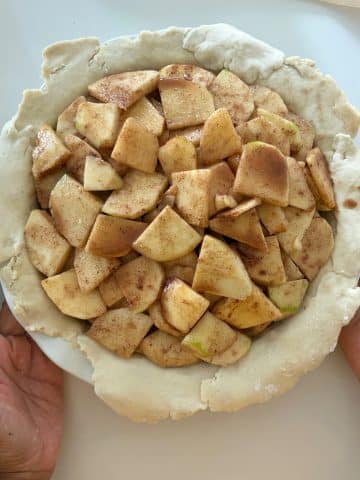
Step 3: Pack the seasoned apples into the bottom crust, being sure to not leave any spaces in between.
It's a lot of apples, but that's okay! Create a domed shape, with a little more fruit in the center.

Step 4: Place that pie plate in the refrigerator while you work on the next step.
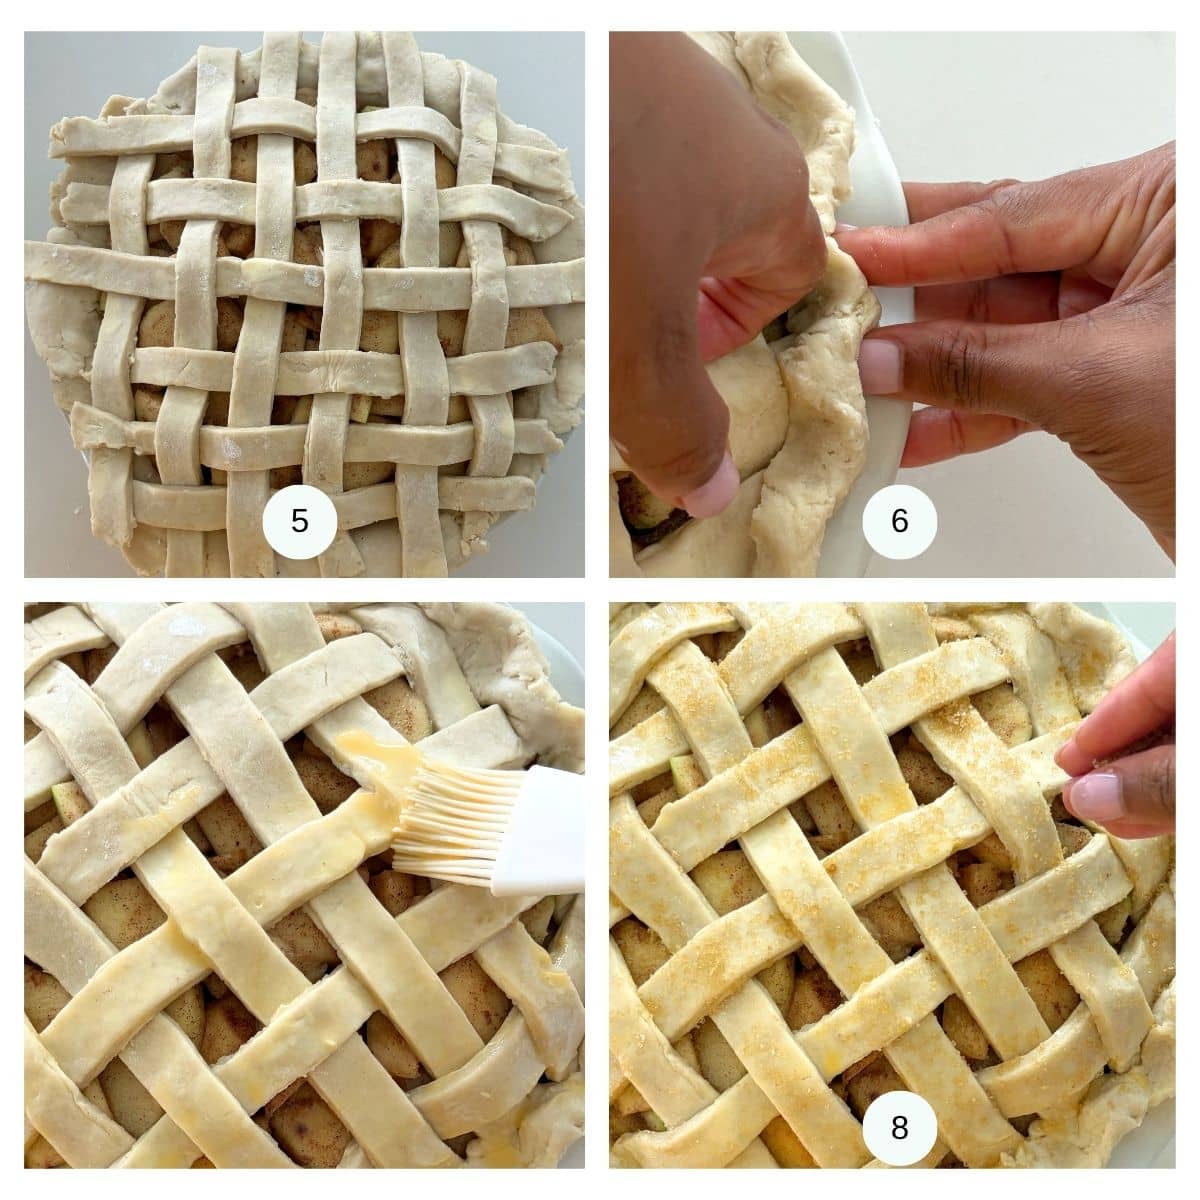
Roll out the second pie dough disc, and make 12 even-sized slices. Now it's time to decorate: below is a step-by-step tutorial on how to lattice pie crust.

Recipe Pro Tips
- Using homemade pie dough? Fully chill first. I talk more about this in my all-butter pie crust recipe - but chilling the dough for at least 2 hours in the refrigerator is key to the best flaky crust.
- Slice the apples evenly. So that they all cook down to the same tender (but not mushy) texture, be sure to slice into even ¼-inch pieces. You can keep the slices whole, or cut them in half to make discs like the photos above.
- Place a sheet pan below the pie plate. The filling can start to bubble over onto the bottom of your oven. I like to place a foil-lined sheet pan below the pie dish to catch any extra juices.
- Don't short your baking time. There's so many layers of apples in here, that you don't want to take the pie out prematurely and have an underbaked bottom crust. Once the internal temperature reaches at least 200℉, you're ready to go!
- Cool the pie completely. I know, I love a good warm apple pie too! However, the dish must cool once it's out of the oven for at least an hour. This helps the filling set up all the way.
Recipe FAQs
Some recipes require this; but my recipe does not. I've found that by thoroughly tossing the sliced apples in sugars and spices, there's no need to cook them before baking.
There's a few keys to a crispy bottom crust, even under all of those apples!
- Bake the pie for the full recommended time. If your crust begins browning too much for your preference, use pie shields or aluminum foil.
- Use a glass pie dish. Glass conducts heat much more evenly than ceramic, plus you can also see the bottom turn brown!
- Blind bake the bottom crust. You can always pre-bake the bottom crust, using pie weights, for 10 - 15 minutes to give the crust a head start.
Granny Smith, in my opinion, are the absolute best apple varieties for pie. They don't bake up to mush after the long stretch in the oven.
For a great depth of flavor, I mix together Granny Smith (tart apples) with sweeter apples that still have a good crunch like Honeycrisp.
Other Impressive dessert Recipes You'll Love!
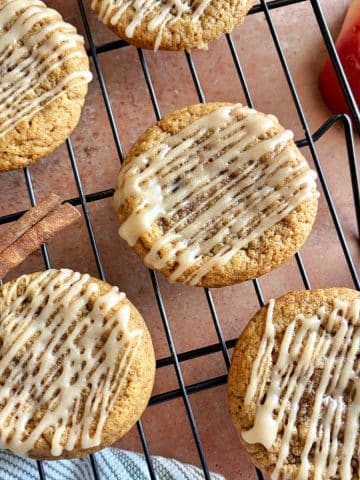


If you tried this Classic Apple Pie Recipe, or any other recipe on my website, please leave a star rating and let me know how it went in the comments below. I love hearing from you! Thanks for visiting!

Classic Apple Pie
Equipment
- Chef's Knife
- Vegetable Peeler
- Large Mixing Bowl
- Pizza Cutter (optional - for lattice dough)
- Aluminum Foil
- Large Sheet Pan
Ingredients
- 1 double pie crust
- 2.25 lbs. apples, peeled and cored (a mixture of tart and sweet - I like to do Granny Smith & Honeycrisp)
- ⅓ cup brown sugar
- 3 tablespoons all-purpose flour
- 1 ½ teaspoons cinnamon
- ¾ teaspoon salt
- ½ teaspoon ground nutmeg
- ¼ teaspoon ground ginger
- ¼ teaspoon allspice
- 2 tablespoons apple cider (optional)
- 1 tablespoon lemon juice
- 1 count egg (for an egg wash)
- 1 tablespoon water (for an egg wash)
- turbinado sugar (optional - for crust)
Instructions
All-Butter Double Pie Crust
Apple Pie
- To begin, peel and core your apples. Chop them into ¼-inch slices, then cut those slices in half to create quarter pieces.The total weight of your peeled, cored, and sliced apples should be about 2.25 pounds. I recommend one sweet apple for every 2 tart apples.2.25 lbs. apples, peeled and cored
- Macerate the apple slices by coating in sugar, flour, warm spices, lemon juice, and (optional) apple cider. Mix everything together using your hands, then set aside after the apples are well-coated.⅓ cup brown sugar, 3 tablespoons all-purpose flour, 1 ½ teaspoons cinnamon, ¾ teaspoon salt, ½ teaspoon ground nutmeg, ¼ teaspoon ground ginger, ¼ teaspoon allspice, 2 tablespoons apple cider, 1 tablespoon lemon juice
- Roll out the bottom pie crust into a 12-inch circle and carefully transfer to a 9-inch pie dish. There should be some overhang on the edges; that is okay to leave for now.Be sure to gently press the dough into the bottom and sides of the dish so there are no gaps between the crust and the pie plate.1 double pie crust
- Pack the apple filling into the crust, trying not to leave any large spaces in between pieces of fruit. Pour any syrup created from the apples right on top.
- Place the entire bottom pie into the fridge while you work on the top crust.
- For a lattice pattern: Roll out the top crust to an 11-12-inch circle. Slice the circle into 6 strips of the same thickness. Arrange them over and under each other to create a lattice (see photo tutorial above for an example).
- Trim off any excess dough from the edges, before folding it back towards the center of the pie and pinching both the top and bottom crusts together to seal. You can then crimp or flute the edges to secure everything together.
- Whisk together one egg and a little water to create an egg wash.Brush the top crust and edges with egg wash, then sprinkle turbinado sugar on top.1 count egg, 1 tablespoon water, turbinado sugar
- Place the unbaked pie in the refrigerator while you preheat your oven to 425℉.
- Loosely form aluminum foil on the edges of the pie (or use edge guards if you have them).
- Bake on the lower oven rack at 425℉ for 20 minutes, placing a large foil-covered pan underneath the pie to catch any filling that will bubble over.
- After 20 minutes, turn the heat down to 375℉. Bake for another 40 - 45 minutes until the filling is bubbling and the internal temperature of the pie is 200℉.If the top begins to brown faster than the edges, add foil to the top and remove the edge guards from the sides.
- Remove the pie from the oven, and let it rest for an hour on the counter or stovetop.
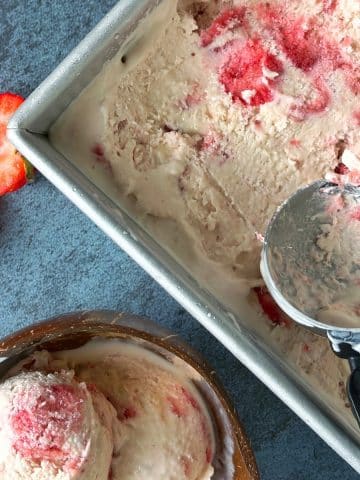
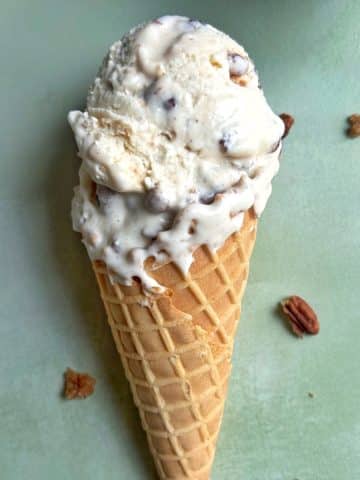
- Slice and serve with a nice scoop of homemade ice cream. Enjoy!


Did you make this recipe? Let me know what you think!